Make your album cover interactive with AR using Artivive
For a few years now, I have been working collaboratively with a record label, creating album artwork, and animations for Spotify and social media.
In this blog post, I'll show you how to create something a little different by using software called Artivive, to bring album artwork to the next level.
The first step, find an artist who needs a cover. If you want to create something to build your portfolio or know an artist who you could create a collaborative partnership with, this post has all you need to know about creating an augmented reality (AR) album cover.
Watch the tutorial and if you need more information I have listed them bellow:
Let's get cracking.
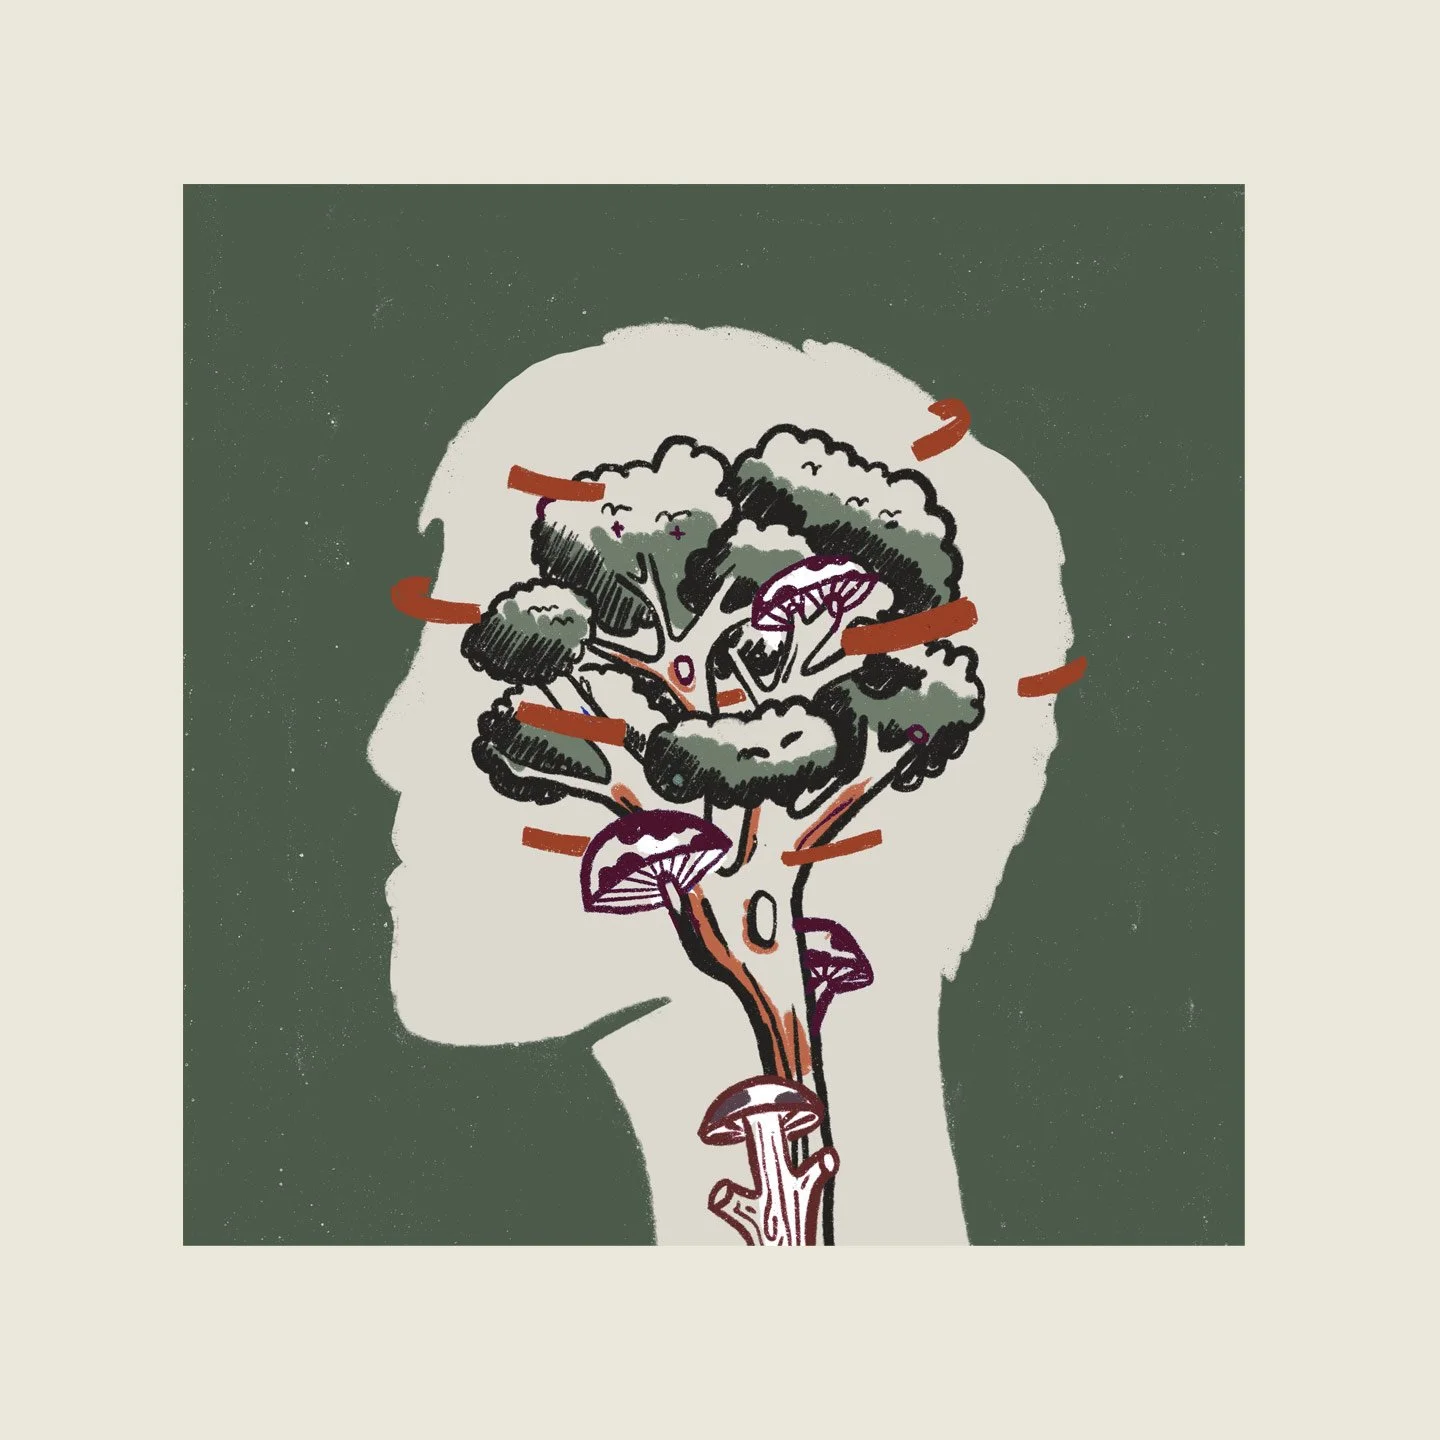
Figure out what you want to show on the cover. For my project, Sam wanted to have a tree growing inside someone's head like a brain. I started with a few simple sketches and then took my ideas into Procreate. I used a mixture of brushes and textures to get my desired look.
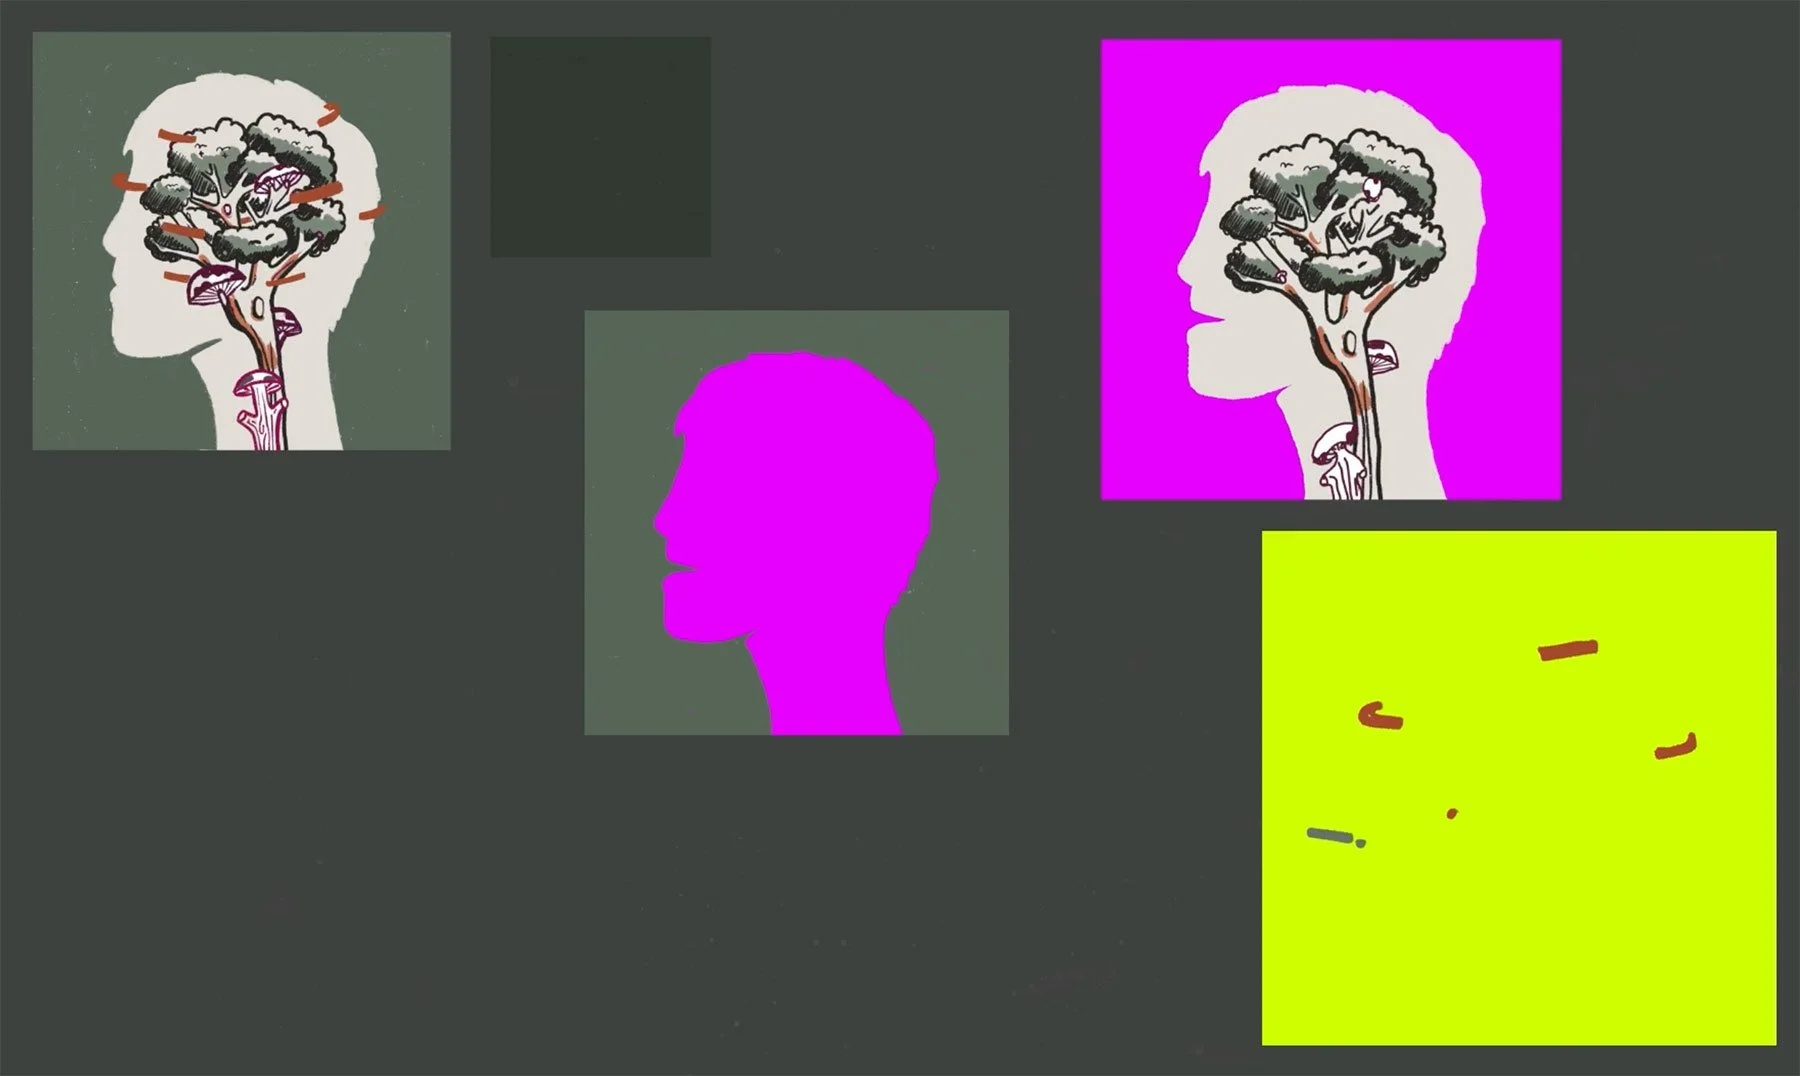
Following this, I prepared the artwork for animation by creating the mushrooms and lines that span around the guy's head. Rough Animator on the iPad is simple to use and easy to get some movement into your animations.
The next steps were to take everything and composite it into After Effects. I used a mixture of scripts such as the boiling effect by Eye Designs and Joysticks and Sliders, which I purchased from Aescripts. Once I was happy with the animation, I rendered it as an MP4.
The final step was to recreate the album as an AR piece using Artivive. If you don't know Artivive, it's a platform where artists build the future of analog and digital art. It is a fairly simple process as long as you set it up correctly. To do this I separated the animation into three layers and added bright colours to the background. These colours need to be different from the artwork because you will use them to create alpha layers in Artivive. Once you have rendered them, upload them to Artivive along with your trigger image, which is the image that starts the AR experience once the user has hovered over it with their phone camera.
Try downloading Artivive on your phone and hover over the image.
Hope you have enjoyed this. Let me know if you have any questions.
To find out more on this, follow a previous tutorial I created for Artivive here.
If you would like to listen to this album and find out more, here is the link:


